How To Paint Trim And Doors: 5 Easy To Follow Steps!
TheToolGeeks.com is a participant in the Amazon Services LLC Associates Program and other affiliate advertising programs. We may earn from qualifying purchases. (Learn More).
Lately, I have seen a lot of people asking – how to paint trim and doors, what paint should we use? and many other questions about this topic. In the past few years, I have painted a lot of trims and doors.
The number of trims and doors I have painted is very high – It’s so high that I don’t even want to talk about it. Some of the things that made me lose a lot of time during this process are not knowing which tools are right, not having a guide to follow, and many more.
Luckily for you, I will share with you the steps and tools I use every time I have to paint trim and doors. A lot of people use different steps and tools, but here’s mine.
Read More — Best Paint Sprayers For Trim And Doors Review
Jump To Page Contents:
What Tools Do You Need To Use To Paint Trim And Doors?
The biggest mistake people do when trying to paint trim and doors is that they get the wrong tools and paint. Here are the tools and equipment that you need to spray trim and doors.
Read More — Airless Spray Gun Review
Should You Use Paint Sprayers or Paint Brushes?
It depends on your budget. If you have a bigger budget then I suggest going with paint sprayers. They are faster and provide a better finish quality. The trims and doors will look new if you use a paint sprayer. Plus you can spray other things around your house and make them look better, such as your kitchen cabinets. On the other hand, if you are not experienced enough with paintbrushes then you can leave brush marks on the door and that doesn’t look good.
But still, it depends on your experience level and in your budget. If you don’t know which paint sprayer to pick then check our post about the best paint sprayers for trim and doors.
What Kind of Paint to Use?
First of all, let’s talk about what kind of paint you need to use. The two paints that you need to avoid are flat and eggshell paint. I have used these two paints several times, mostly at my early during of painting.
The eggshell and flat paint do not clean up easy, if you by accident drop something on the paint then you can’t get it off. You might as well just get the paint sprayer and start spraying over it. Especially the flat paint, that is just something that I avoid using on trim and doors.
Instead, I use semi-gloss and gloss sheens. These two don’t make a huge mess and if you by accident drop something then you can get a towel or something and wipe away the dirt or anything else.
Read More — Best Paint Sprayers For Home Use
Wood Filler
If you have holes in your door or trim then you need to fill them with a wood filler or the finish paint won’t look as good as it should. In terms of what to buy, you can either buy wood filler or spackling.
In the past, I have used wood filler a lot, but wood filler requires you to sand it. After being tired of sanding wood filler I decided to buy spackling and since then I have used spackling. It’s easier than wood filler and sometimes you don’t have to sand it. But, regardless of that, both of these work great to fill the holes in your trims or doors.
Read More — Best Sprayers For Plasti Dip
Caulk and Tape
If you have any gaps between the trim and the well then you should fill them up with caulk. To do this you need caulk and a caulk gun. If you don’t know how to use one don’t worry, there are a lot of tutorials online.
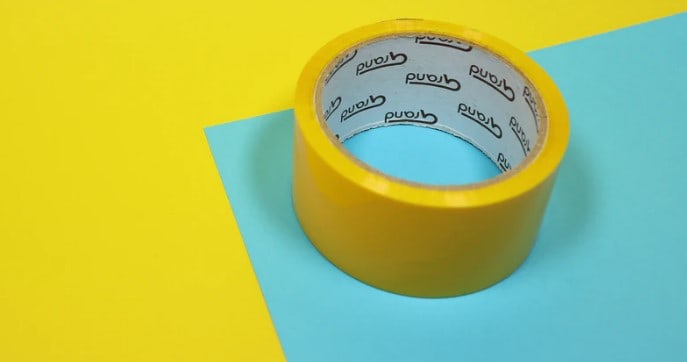
And last but not least, you need tape. You need tape to tape off the walls and the trims that you don’t want to spray. This protects them, and at the same time it helps you spray freely without having to worry about spraying something that you don’t want.
I’d suggest you buy a high-quality tape, some tape isn’t made for painting such as masking tape, they will leak the paint. And some tape isn’t made for walls, so make sure to double-check what kind of tape you are using,
How To Paint Trim and Doors?
Once you get all the needed tools and accessories then it’s time to actually start painting trim and doors. Here are the steps that I follow.
Paint The Trim First
I lot of people don’t know which one to paint first – the trim or the walls. I always spray trims first, then the walls. Most people want to spray their trim with white color. And most of the time, your wall color isn’t white, it’s has a darker version of white.
And if by accident you get the wall color into your trim then it’s going to take more than one coat to get rid of it. That’s why I always paint the trims, let it dry for one day and then tape them off, and start spraying my walls.
Fill Holes
Before starting to paint spray your doors you need to make sure that the surface is even and it doesn’t have any holes. If your door has holes then it’s fine, you just need to use a wood filler or spackling. I talked about this earlier, and I prefer spackling, but wood filler does a great job too.

To fill the holes, just take a little spackling with your index finger and fill the hole, once you put the spackling into the hole make sure to move your finger back and forth to smooth out the area. If you smooth it long enough then you probably won’t need to sand it.
Once you smooth it enough, you have to let it dry ( it usually takes one hour to completely dry out ). After it dries out, check it to see if you need to smooth it more or fill the hole again with spackling.
If it needs another coat, then just repeat the steps above. And if it needs to smooth it, then you can use sandpaper to get better results.
Read More — How Much Does It Cost to Paint a Door?
Caulk & Tape it!
As I said earlier if you have gaps between walls and trims then it’s probably best to caulk them. For this, you are going to need caulk and a caulk gun. Apply constant but small pressure on the gun, and then use your index finger to smooth out the caulk. After you finish all the gaps that it had, then you need to let the caulk dry.

Once the caulk is dry, you need to use the tape. Make sure to take everything that is attached to the trims – such as floors and walls. After you tape everything out, put your nails at the tape and move your hand firmly, this ensures that the tape won’t leak any paint.
Paint The Doors And Trim
When painting trim and doors you have two options, you can use a paint sprayer or a paintbrush. I recommend using a paint sprayer, but if that’s out of your budget or you just prefer to use a paintbrush then that’s fine. I will include a mini-guide on how to do that with both.
Using Paint Sprayers
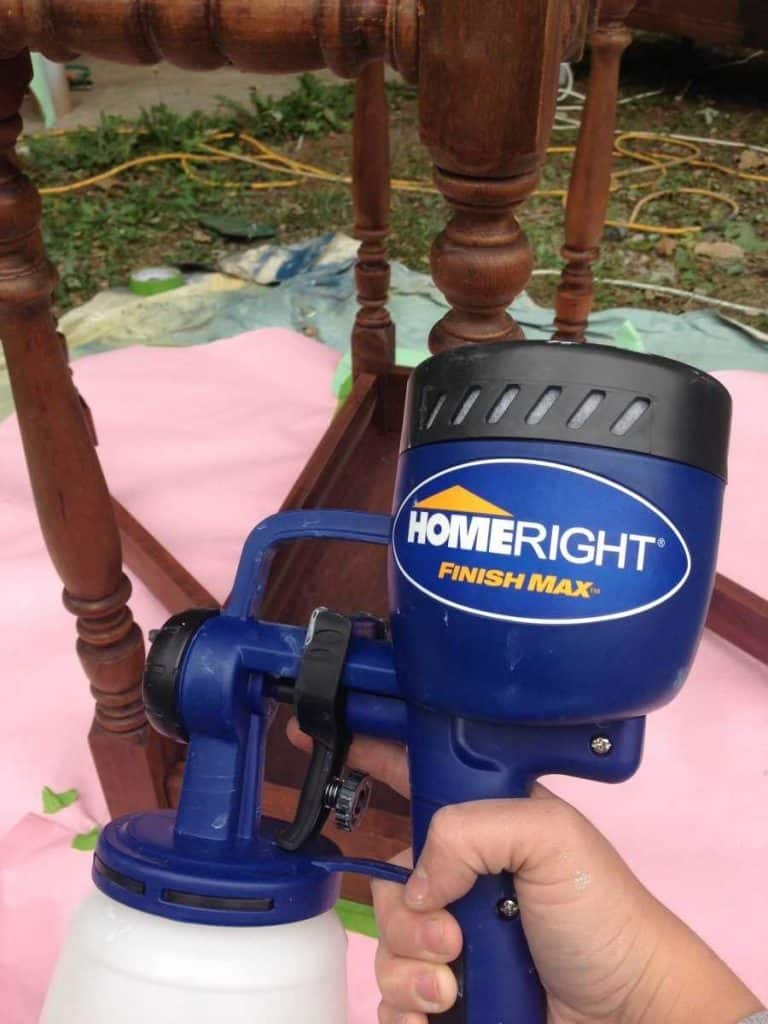
After you fill-up the paint and start the paint sprayer I recommend doing a few test-sprays to a dummy object. This lets you know if the paint sprayer is clogged or not and you can also see if you have to thin the paint or not.

After you complete the tests and the paint thinning you have to pick a paint tip size. You have to select the paint tip that is best suited for the paint you are using, if you are using thick paint then you need a larger paint tip, or if you are using thin paint then you need a smaller paint tip.
If you are spraying lighter materials such as stains then it’s best to put the paint sprayer at low pressure. If the sprayers don’t use a lot of pressure then it’s easier to control them, this helps you to be more precise and get a finer finish.
When you are spraying trims you have to keep a distance of 13 inches from the surface you are spraying, make sure to spray even and long strokes. Follow the same rules when you are spraying the doors too.
Using Paint Brushes
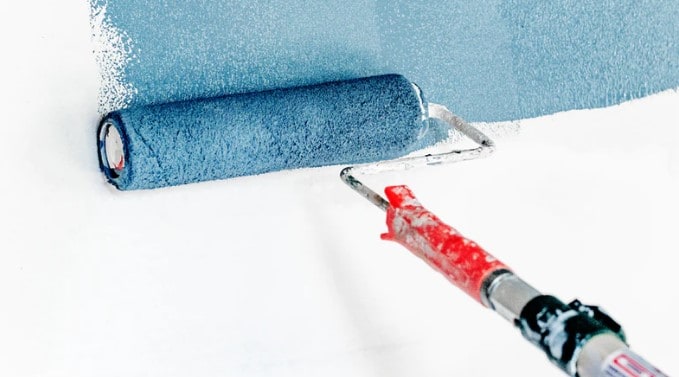
When painting, a general thumb rule that I follow is to use a paintbrush before using a paint roller. Just like with the paint sprayers, you should take long strokes with paintbrushes too, and if you see that you are running out of paint then just fill them up.

If you take long strokes you will reduce the chance of leaving brush marks. If you are painting surfaces that are not flat then brush them down and then use a paint roller for the flat surfaces.
After you complete the first roll then you have to do a second roll, but this time only for the flat surfaces. This time you only have to use a paint roller. Once more, take long strokes and if you see that you are running out of paint then load it back.
Learn More — How to Paint Exposed Basement Ceiling?
Remove The Tapes
Once the paint has dried then you can remove the tape. This will result in straight paint lines. Now you just have to re-hang the doors and clean any mess that you made while working.
If you are using a paint sprayer then make sure to clean it before putting it back to its place. This gives the sprayer a longer time and also reduces the chances of the sprayer to clog the next time you will use it.
Final Words
Whoa! I never thought that explaining how to spray trim and doors will take such a long time. As always, if you have any question then comment below and I will try to get back at you as fast as possible. If you need more painting tips then make sure to check our website because we have a lot of guides and reviews.
Amazon and the Amazon logo are trademarks of Amazon.com, Inc, or its affiliates.

