
How to Sand Metal to Get Rid of Rust and Paint? Step-By-Step Guide!
TheToolGeeks.com is a participant in the Amazon Services LLC Associates Program and other affiliate advertising programs. We may earn from qualifying purchases. (Learn More).
How to sand metal and remove old paint or make the surface of metal smooth? This is a frequently asked question by many home improvement DIYers and crafters alike. Sanding metal can help remove old or unwanted discolorations, rust, paint, and scratches. With the right tools and know-how, you can breathe fresh life into your tired-looking metal surfaces.
But to effectively sand metal and safely remove the resulting dust and debris, you need to know a few key steps and understand your sanding tool options.
We’ll help you figure out how to safely get rid of rust and paint and get the final finish you want.
Jump To Page Contents:
When and Why Should You Sand Metal?
Sanding is essential if you’re working with a metal surface that needs retouching before painting. You’ll need to build a smooth surface for the paint to coat and stick on the metal surface effectively. Getting rid of metal rust and surface issues will help your new paint job succeed.
Metal rust can be tricky to manage and is best addressed as soon as you notice the metal aging. The longer rust goes without being treated, the harder it will be for you to get sand and repair the surface. And, if a metal surface is rusted for a long time, it can become so severely damaged that you can no longer work with it.
This is why sanding and restoring metal is necessary.

Related Read — Best Sanders For Metal
Methods to Sand Metal Surfaces
Now that you’re well aware of the importance of sanding metal surfaces. It’s time to know what methods you can use for sanding your metal object or sheet. We will reveal some methods we use for sanding and getting smooth results.
Manual ways to Sand Metal
As the name suggests, this method involves sanding manually with sandpaper or a sanding stick. Manually sanding is an easy and effective method of sanding that allows you reach in tight and angled spaces. However, it can be tiring and time-consuming for larger surface areas..
Sand Metal Using Sandpaper
You can use sandpaper for sanding metal. Sandpaper is an abrasive material used to remove small amounts of material from a surface. It is available in different grits, which determine the paper’s coarseness and how much material it can remove.
Overall, sandpaper can be an effective tool for sanding metal, but using the appropriate grit and taking proper safety precautions is essential.
We recommend using sandpaper or sanding blocks for small metal sheets, so you don’t have to make too much effort.
Using Sand Stick
The sand stick works the same as sandpaper. It involves a wooden, plastic, or metal stick with a strip of sandpaper on one or both ends.
Sanding sticks come in various shapes and sizes, such as flat, round, or triangular, to fit different areas or places of a workpiece.
We recommend using sand sticks to smooth and shape small parts, edges, or corners of a workpiece where it’s difficult to reach with your hands. They can be used with different grits of sandpaper, depending on the task. Because they are small and easy to handle, sanding sticks provide greater control and precision than sandpaper alone.
Wet Sanding
You can also wet sand your metal sheet or object. But make sure not to use water for wet sanding, as it causes the metal to rust more quickly.
We use mineral oil instead of water for wet sanding metal. Using mineral oil helps you eliminate the rusting problem and get smooth results. You can also use WD-40 spray instead of water or mineral oil for wet sanding metal.
Power Sanding (Sanding using power tools)
You can use power tools when working with large metal surfaces or any other project that needs precision sanding. These power tools include sanders (random orbitals or belts) or grinders (angle grinders)—these help in achieving results quickly and efficiently.
Sand Metal Using Electrical Sanders
You’ll want to choose the electric sander that will cover your frequent types of jobs. But remember that one type or size sander may not cover all your needs.
Choose the sander based on the type and size of surface area and whether the metal has paint already applied or not. The condition of the metal or the amount of build-up the metal has is also important. Additionally, the power of the sander will determine quicker results.
Also, we recommend a lighter weight and easy-to-handle sander with lower vibration. For this purpose, the belt sander and random orbital sander are great choices.
Random orbital sander
Metal sanding works most effectively using a random orbital sander. It keeps the most contact with the surface. And random orbital sanders provide the smoother finish in the shortest time due to their dual-motion (orbital and circular).
Plus, random orbital sanders are commonly sold in many hardware and home improvement stores and can be used on other common surfaces such as wood.
Belt sanders
The belt sanders are great to be used for heavy work and rougher surfaces. You can use it for large projects and heavy work. The right grit choice is also essential, as the wrong choice will damage the work or not get the desired results.
We would recommend choosing a belt designed with zirconia or ceramic grain. Also, aluminum oxide and silicon carbide are recommended but last less than the earlier ones (they are great for metal sanding).
Grinders
If you need to remove built-up paint or rust, selecting a grinder is necessary, and for metal sanding tasks, the angle grinder is an ideal choice. This one also works circularly using an abrasive disc that sands the metal.
The best thing about this grinder is that it can be used for both rough and fine sanding of metal because it has a range of sizes and power levels.
The most common and effective ways to sand metal are sanding papers and orbital sanders. So, we will reveal the steps for both methods below.
How to Sand Metal Using Electric Sander?
The steps of sanding metal using an electric sander are almost the same, but still, some differences exist. Before diving into the sanding process, the first step is to gather all the necessary tools, such as:
- Safety gear (Gloves, goggles, and face mask)
- Electrical Sander with a vacuum (Mostly orbital sanders are used)
- Sanding paper (60-200 grit)
- Metal object
- Piece(s) of cloth
Below we’ve explained everything in easy steps. Please follow these steps to get the best results.
1. Clean the Metal Object
This process is similar to what we did in sanding using sandpaper. The area where you are going to work needs to be cleaned and without any debris.
So, the first step is to clean your workspace and the metal object and prepare the area where you will place your metal object first. Additionally, the object should be firm (with no chance of slipping or moving).
When you’re done with getting your workspace ready, wear protective gear. This includes gloves, goggles, and a mask: as they will work as protection while sanding on metal for your eye and hand, and a mask specifically for your lungs to avoid any dust/debris being inhaled.

2. Choose the Right Sander for Your Job
When selecting the best sander for your metal project, review your metal piece size, material, and shape.
In most cases, a random orbital sander is your best bet for sanding metal. These sanders have the right amount of power but aren’t as harsh or forceful as belt sanders or grinders. Plus, the oscillating, or vibrating motion, combined with the circular movement of random orbital sanders, is perfect for dislodging and sanding down rust or paint without harming the metal underneath.
We advise using belt sanders or grinders on metal surfaces only when heavy sanding is needed first, as both are aggressive and can easily take up some of the metal in addition to the rust or paint.
Palm sanders are best for you if your job involves sanding in corners.
3. Choose the right sandpaper
When it comes to the selection of sanding paper, the configuration is the same as we’ve outlined before in sanding with sanding paper. For your understanding, we will repeat the format.
- Very Rusty Metal: 60-80-grit sandpaper or less
- Rusty Metal: 80-100-grit sandpaper
- To Smooth a Metal: 180-grit sandpaper or more
- Before Applying Metal Sealer: 200-grit sandpaper or more
Again, it all depends on your requirements and the initial condition of your object. You may have to start with 100-grit sandpaper if the surface is smooth already.

4. Attach Sanding paper with the Electric Sander
Now that you’re well aware of which sandpaper to use. It’s time to attach your sandpaper or sanding disc with your orbital sander.
How to attach the sanding paper with an electric sander?
To attach a sanding paper, choose the sanding paper that matches the pad of the electric sander (usually a 5-6 inches round sanding pad).
Check if your sanding paper is a pre-punched or a non-punched hole design. If your sander has a dust collection system, use the pre-punched sanding paper, which will allow dust to be collected through the sander. Place the sandpaper so that the holes of the sandpaper align with the holes of the pad.
For non-punched sanding paper, mark the holes on the paper with a pencil. Press the sanding paper firmly so that it sticks properly.
5. Start Sanding with Orbital Sander
Turn on your orbital sander, place it on your metal sheet, and start sanding. Make sure not to put too much pressure.
As you continue sanding, keep switching out sand disks to higher-numbered paper with a finer grit. Start with an 80-grit sanding disk and work yourself up to a 200-grit sanding disk.
In the final stages of sanding, your 80-grit sanding paper will allow you to remove any remaining debris on the surface. The smoother paper won’t dig into the metal and will help you polish up the final stages of your sanding job for a super-smooth finish.
If there’s any area remaining that isn’t quite smooth, and you can’t access it with the electric sander, plan to work on it manually with a sanding block. Much like you worked with your electric sander, start with 80-grit sandpaper and work yourself up to a smoother, 200-grit sandpaper.
If you want an even more polished sheen, use steel wool to polish your surface after sanding it with sandpaper. For a smooth and unique finish, rub the steel wool in circular motions until you reach the effect you’re looking for.
6. Blow Out Particles Using an Air Compressor
When using an electric sander, cleaning out your sander disc is crucial, as it can malfunction your sander, or you will end up ruining your project.
For this purpose, we use an air compressor at medium PSI and blow the disc after a few passes.
7. Final Polishing & Applying Metal Sealant
The last step is to do the final polishing of your metal surface and you can do it using finer sandpaper (usually 1000-1500 grit). Pour polishing fluid or solution and clean it with a buff pad or cloth. Additionally, apply a metal sealant to protect your metal sheet from rusting in the future.
How to Sand Metal Using Sanding Paper?
Although manually sanding metal can be pretty time-consuming, it can help you get into hard-to-reach areas better than most power sanders. With the right paper, you’ll get the job done right—just plan to devote more time and elbow grease to the task.
Tools required for sanding metal with sandpaper:
- Protective gear (gloves, masks, and goggles)
- Sanding Paper (60-200 grit based on the surface roughness)
- Metal object
- Mineral oil or WD-40 for wet sanding
- Waterproof sanding paper for wet sanding
- Piece(s) of cloth
Below are some steps you should follow to sand metal using sanding paper (sanding with hands).
1. Wear Safety Gear
Before starting your project, collect and put on your safety gear. If you are sanding metal, you’ll likely be dealing with old, rusted surfaces. A lot of dust is produced when sanding—and when that material is metal, there’s a whole additional layer of issues to contend with.
Metal dust is hazardous to breathe in, and the particles can also harm your eyes and skin. That’s why wearing a mask, goggles, gloves, and protective gear is essential.
2. Clean the Metal Object
Cleaning up your surface area before you start sanding is another crucial step. Rusty metal can have a lot of surface disruptions, dust, and debris that may impact the effectiveness of your electric sander. Using rubbing alcohol and white vinegar to clean up the metal first is a good idea.
Wet a work cloth with rubbing alcohol or vinegar and go over the surface you’ll be sanding. If you don’t have vinegar or rubbing alcohol, you can use water and shampoo. Be sure not to skip this critical step. Cleaning up now will ensure you get the best possible result later.
3. Use a Grinder to Smooth Out the Welding Joints
If your metal object consists of two sheets welded together, there must be welding joints and bumps. Grinding them is the best way to get rid of those welding bumps. So, before sanding, we recommend you remove the welding joints first.
4. Start Sanding with Sandpaper (Coarse to finer grits)
Choosing sandpaper with the right grit is very crucial for sanding metal, and it depends on two things:
- The initial condition of the metal object (how rough or rusty it is)
- The desired smoothness or result
Choosing the right one according to the metal is a necessary step but for beginners, you can start with 80 or 120-grit sandpaper for only removing rust or light paint. However, for smooth finishing, you must move forward to finer grits 220 grit or more (sometimes 600). We will break it down for you to give you a clear idea.
- Very Rusty Metal: 60-80-grit sandpaper or less
- Rusty Metal: 80-100-grit sandpaper
- To Smooth a Metal: 180-grit sandpaper or more
- Before Applying Metal Sealer: 200-grit sandpaper or more
After choosing the right sandpapers for your job, decide if you want to use the sand stick or sanding block. It also depends on your metal object and your requirements. Sanding blocks will make it easy to carry out the sanding process with your hands.
You need to start with coarse grit sandpaper, which will be used in a back-and-forth motion. The important thing is to evenly apply the pressure, ensuring the areas that need more sanding are focused.
Then gradually switch to the finer grits for smooth results: it works the same in a back-and-forth motion with even but lighter pressure.
You can check the metal surface by running your fingers on it in case of any bumps or scratch marks, and it needs more sanding. You can also check if it is still dusty after cleaning it with a dry cloth.
Note: Make sure to keep your sanding paper clean throughout the whole sanding process.
5. Apply Oil or WD-40 (In case of Wet sanding)
You can apply mineral oil or WD-40 if you don’t want your metal object to get hot or you want to put in less effort (oil will eliminate friction).
The sanding process is the same as we discussed in the previous step, but you would need waterproof sanding paper to serve the purpose. You’ll want to use 550- to 1500-grit paper that is made for use with wet sanding.
It also helps prevent the area of your metal from getting hot while you sand it.
6. Apply Metal Sealant for Protection
When all your sanding steps are completed, seal the metal. Apply a metal sealant and let it dry for a few hours to help protect the raw metal surface. Once the sealing has dried, you can use the metal.
Final Words
Once you are done sanding your metal surface, you can repaint it with a fresh, new color or leave it instead to showcase its renewed natural luster.
Sanding, when done right, can help you extend the life of your metal surface. We hope this guide acts as a good touchstone for future metalworking projects and helps you to add new skills to help you bring fun style and creativity to your home.
Learn also: How to sand Tables?
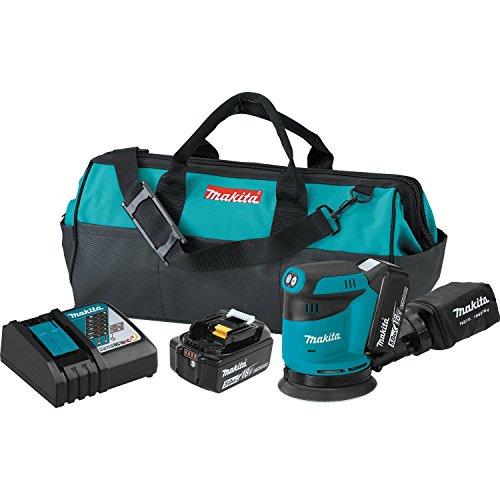
To help get you started, we have also listed our recommended electric and pneumatic sanders below.
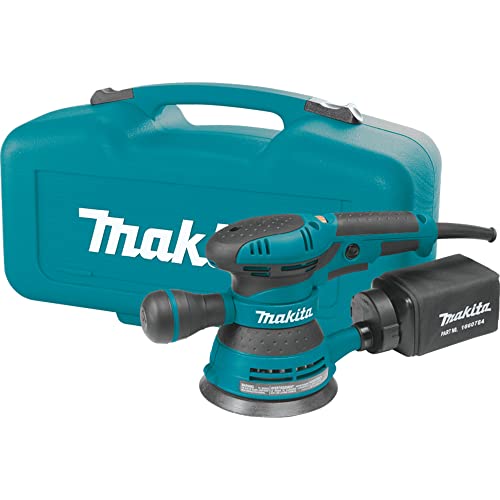
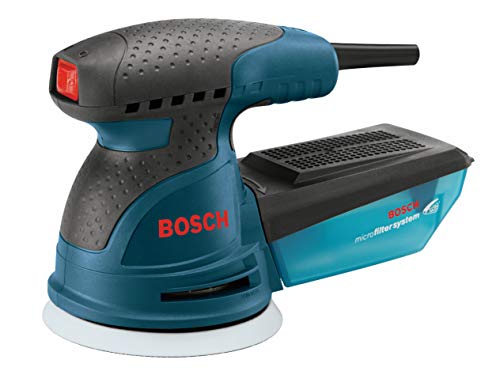
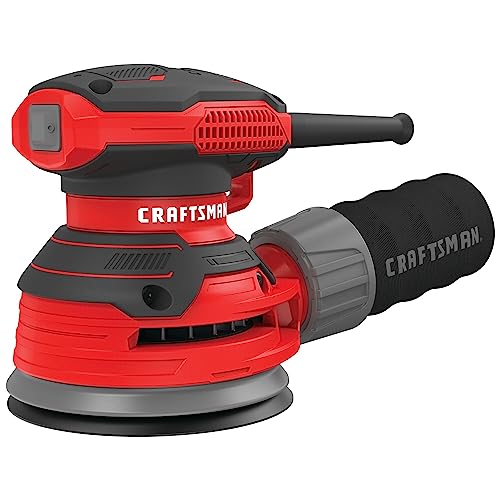
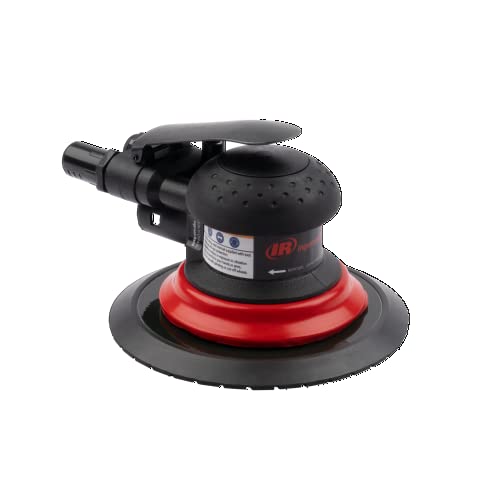
Recommended Sanders for Removing Rust and Paint from Metal

Amazon and the Amazon logo are trademarks of Amazon.com, Inc, or its affiliates.

We’re a team of engineers, contractors, technicians, and woodworking experts who use power tools daily and share fact-based information, tips, and recommendations. At thetoolgeeks.com, we debunk myths about power tools and share methods to use them effectively.